Making an Aurora Borealis in a jar | Iceland themed activities for kids
EACH MONTH THIS YEAR WE’RE GOING ON A LEARNING JOURNEY TO A DIFFERENT COUNTRY, PROVIDING KID-FRIENDLY ACTIVITIES, FUN FACTS AND, OF COURSE, OUR ACTIVITY BOOKS TO SPARK KIDS’ INTEREST IN LEARNING MORE ABOUT DIFFERENT COUNTRIES. THIS MONTH WE’RE LEARNING ABOUT ICELAND…
The Northern Lights, or Aurora Borealis, are a beautiful natural phenomenon that can be seen in the north of the Northern hemisphere (check out our free Lapland activity book for a scientific explanation for kids). At night, flickering lights in a range of colours cross the skies - sometimes lasting all night and sometimes disappearing immediately. Some cultures believe the lights are the souls of the dead, while others claim the lights are made by the tail of the mythical revontulet.
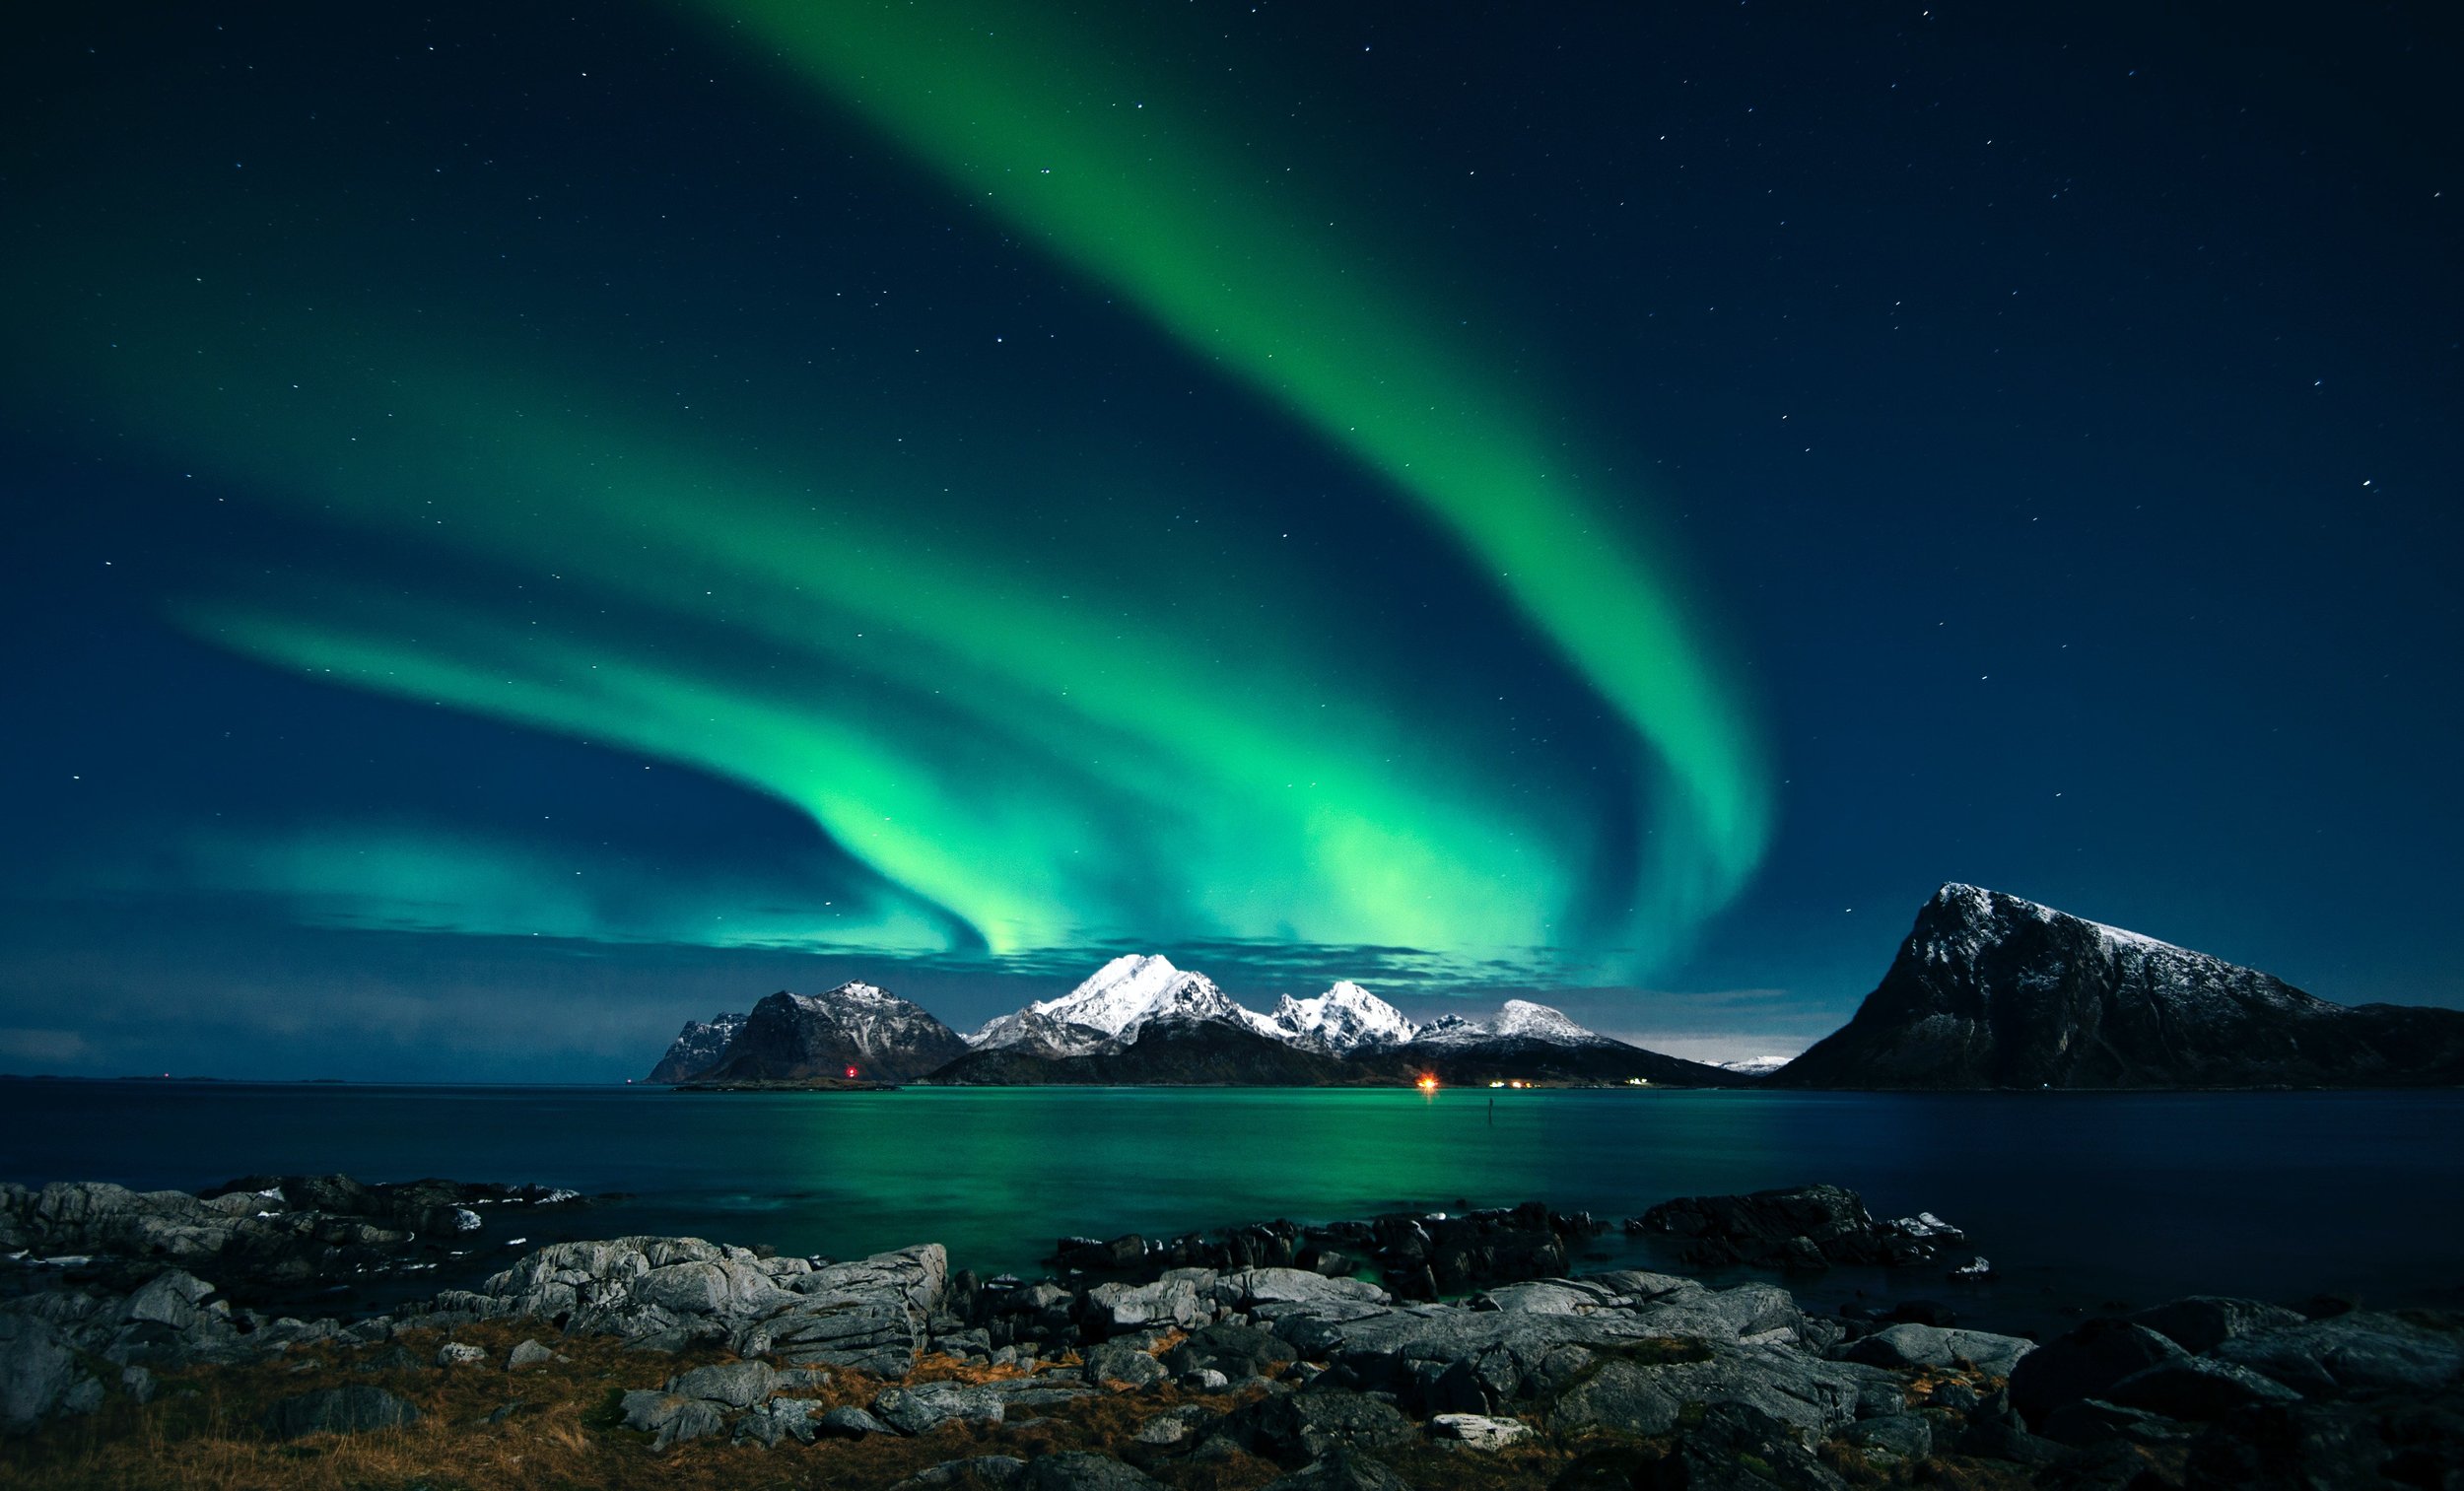
Photo by Stein Egil Lilland from Pexels
Seeing the Northern Lights is a truly special experience but can be tricky to arrange practically. Here’s a fun decorative craft to try with kids to inspire them to learn more about the Aurora.
NB. For everyone living in the Southern hemisphere, a similar phenomenon occurs but is called the Aurora Australis and it can only really be seen in Tasmania, New Zealand and Antarctica.
Here’s a little craft activity to make your own Aurora lantern, using a mason jar, tissue paper and a candle (LED powered for those with fire concerns).
Which colours?
Before you begin, your kids will need to decide which colours they want their Auroras to be. While lots of colours can be present in the Northern Lights, the most common one is green in various shades. We recommend that kids spend a bit of time doing some research on the colours of the Aurora beforehand (because we’re all about research). They can Google Northern Lights colours, or take a look at our specifically designed Pinterest board to determine which colours they’d like to include.
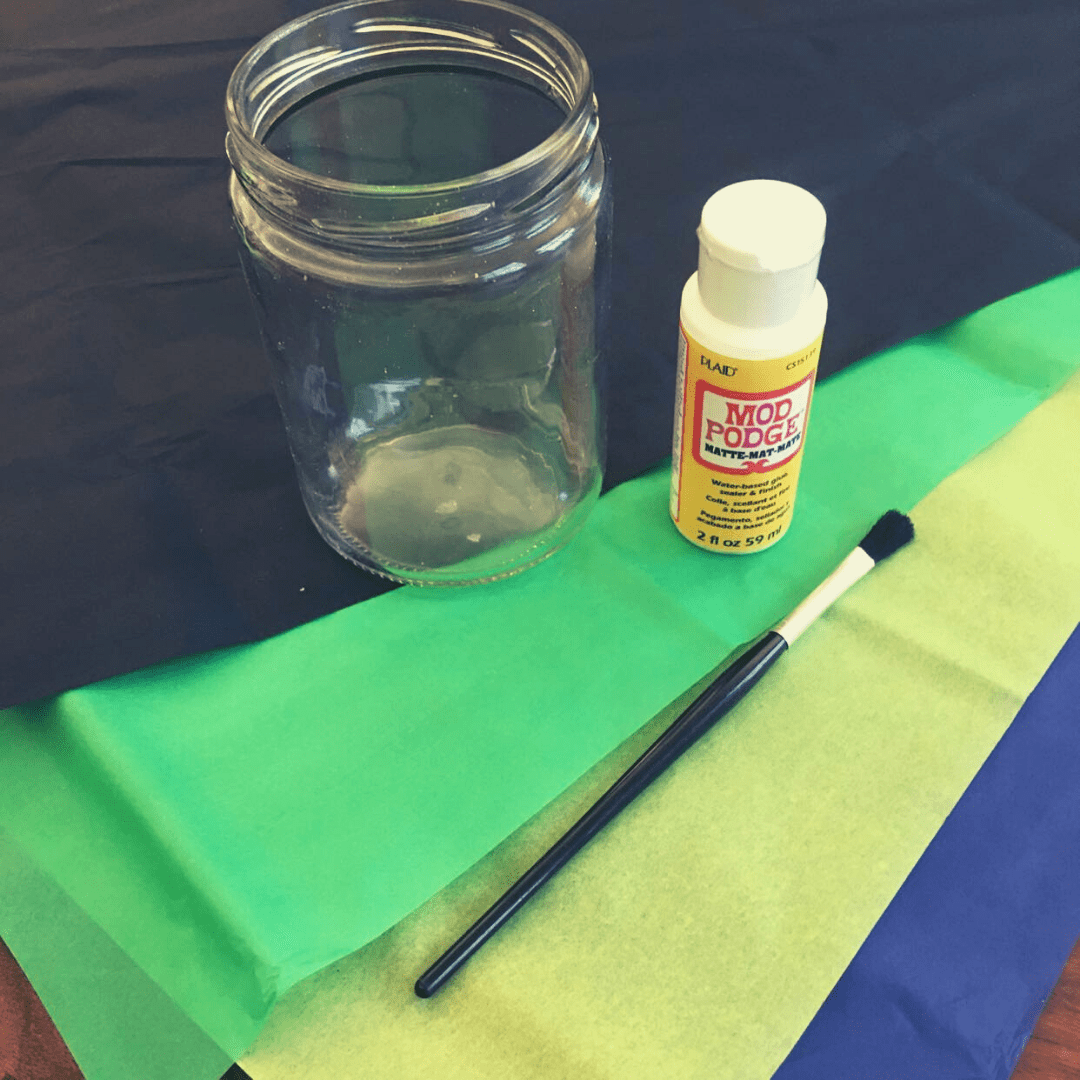
Equipment
1 mason jar
Sheets of tissue paper in several different colours, including black
Mod Podge or white glue
Paintbrush
A tealight or LED candle
Instructions
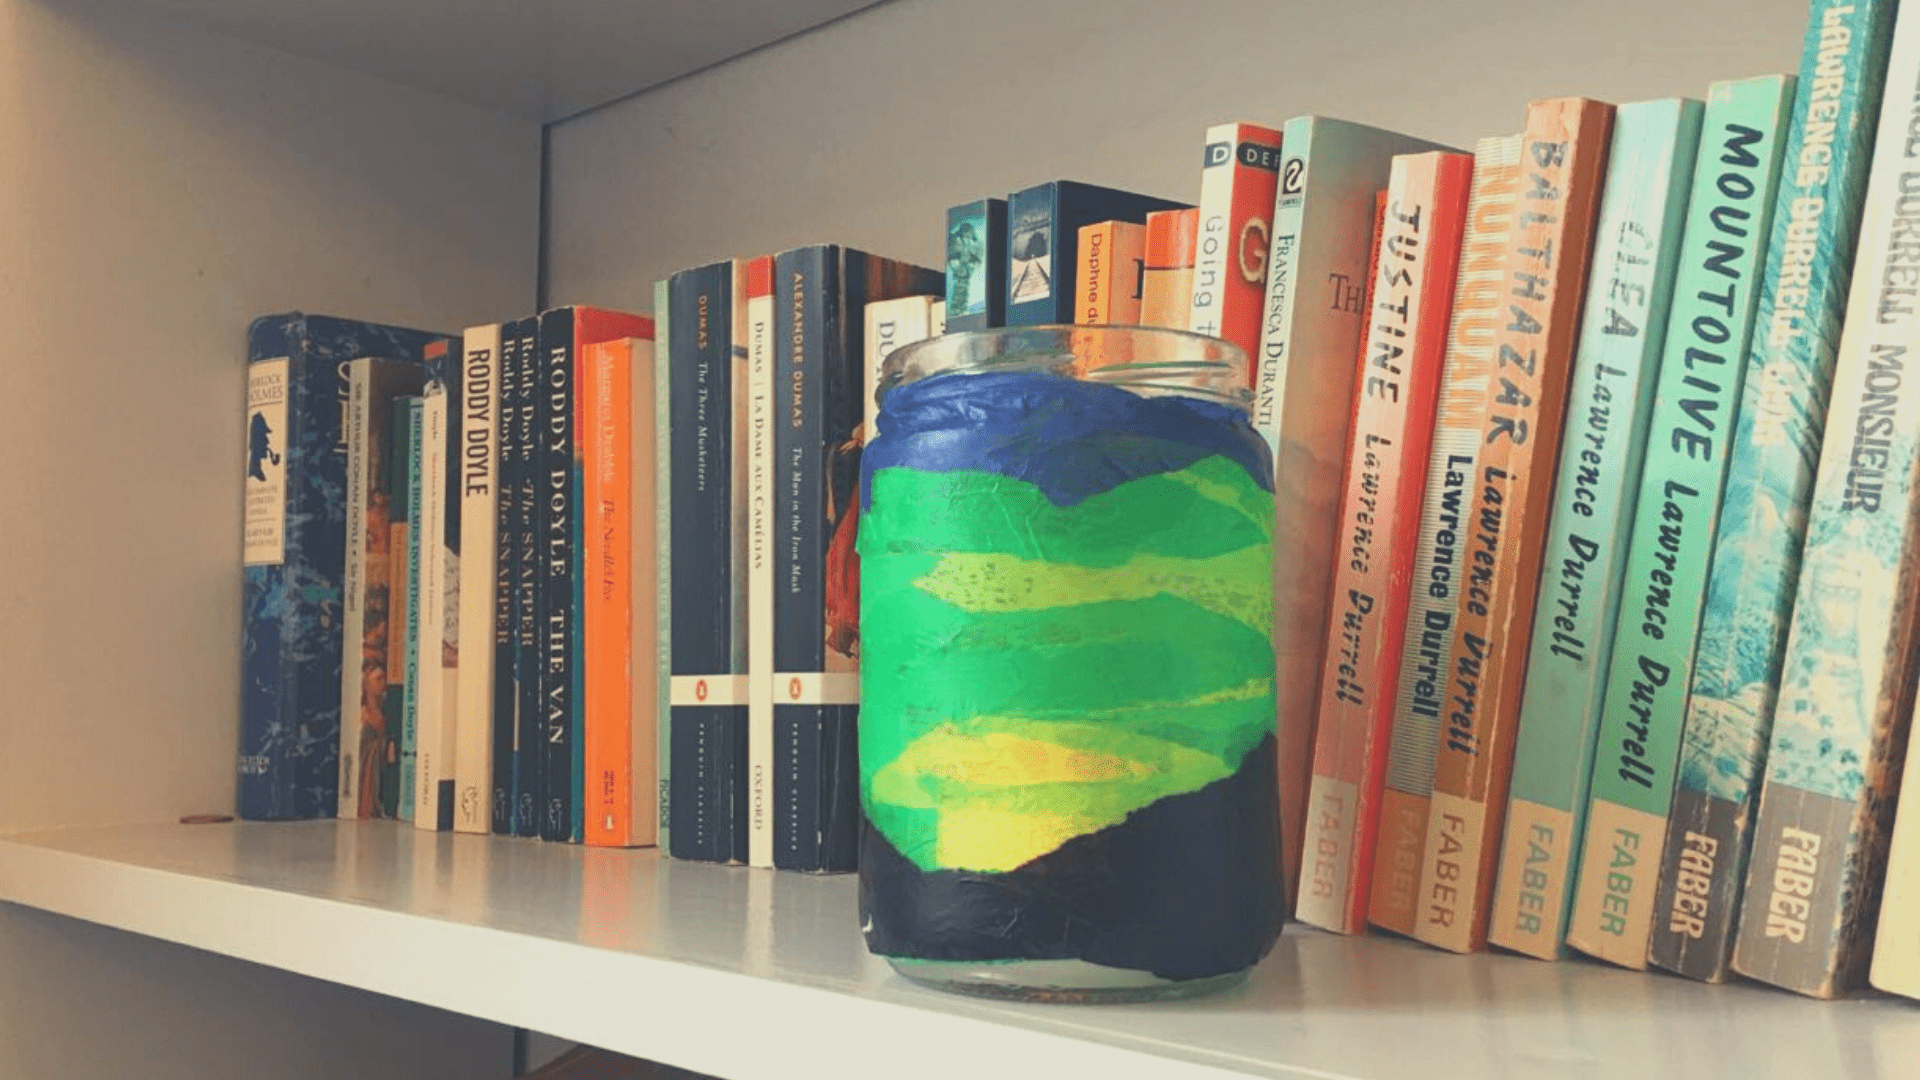
1. Tear up the tissue paper and apply in layers to the jar, gluing or using Mod Podge as you go. The layers should overlap to combine colours and make sure there are no gaps on the glass.
You’ll also need to make sure that there aren’t too many layers of tissue paper, as this will
block the candle light.
2. Ensure the bottom quarter of the jar is covered in several layers of black or dark tissue paper. This creates a silhouette effect.
If you’re feeling really adventurous, you can also cut out silhouettes of trees or buildings to include, to make the jar truly authentic.
3. When the tissue paper covers the whole jar, apply a coat of Mod Podge or white glue.
It will dry clear but you’ll need to leave it for a while. Leave for at least an hour to dry.
4. Once dry, place a tealight inside the jar. The flickering light of the candle will shine through the tissue paper, creating an Aurora Borealis effect.
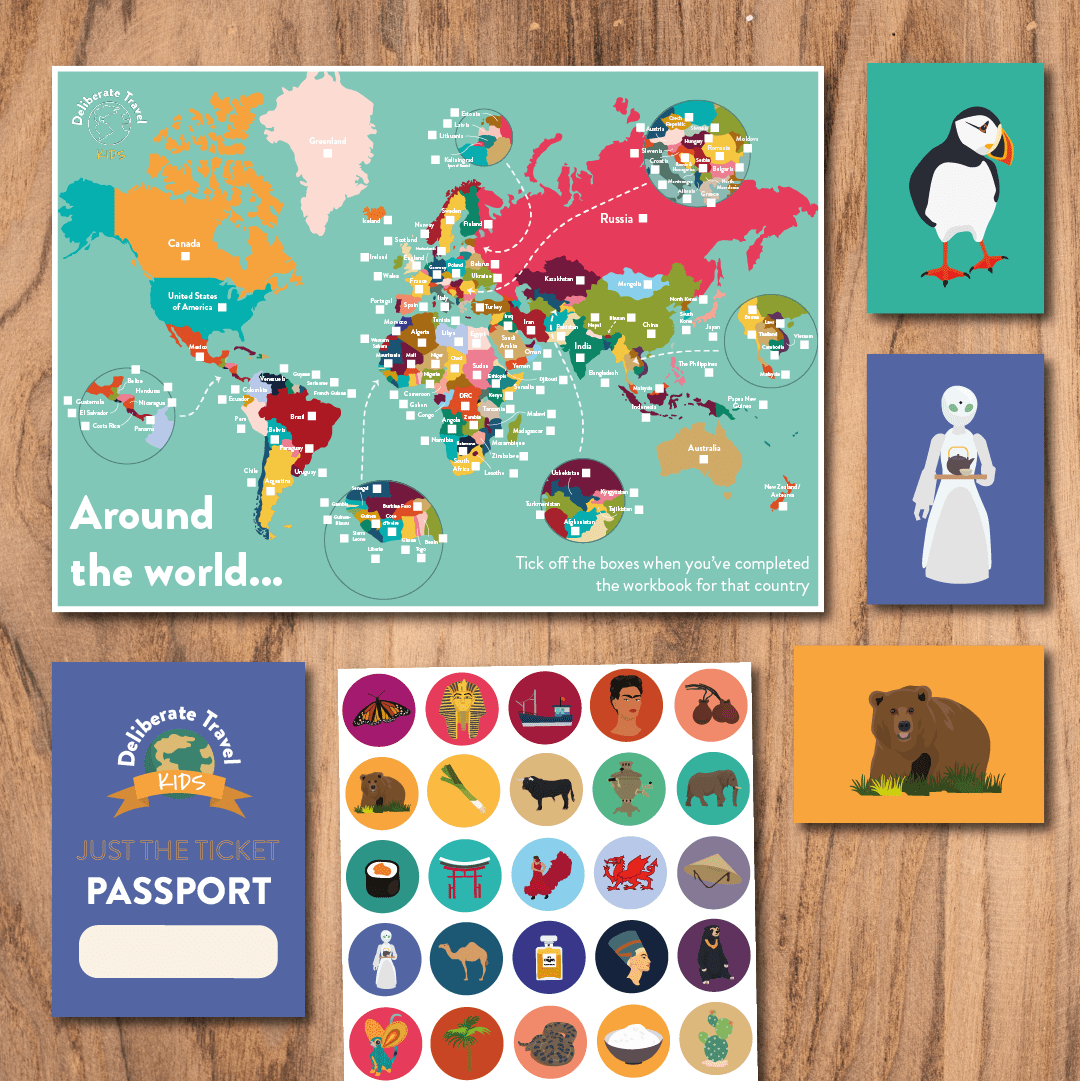
Does your kid love learning about different countries?
Why not try one of our learning journeys? Over the course of 3, 6 or 12 months we explore a different country each month. Kids receive a postcard in the mail, giving them access to our online, interactive activity books which will take them on a virtual journey to a new country.
Each activity book covers a little history, some culture, something about food, animals and the peoples of different places like Australia, Japan, Mexico and more, using activities to keep them focused and learning…